Showing posts with label crafts. Show all posts

Wednesday, May 2, 2012

(BOTD) Bakelite of the Day!

Just for fun, I decided to do a "BOTD" i.e. Bakelite of the Day post! I normally wear bakelite in some form every day, usually as bracelets or earrings.

In the last two years, I have been building my bakelite collection. So far, I have spacers, a few carved bangles, some end-of-day pieces, a smattering of smooth bracelets, and two pairs of carved earrings. I want more carved bangles and a beaded necklace or two! I would have more but as we all know, bakelite is not cheap!

In addition to my bakelite obsession, I also love and make resin jewelry. I use pour resin by Castin' Craft mixed with glitter, beads, and/or opal flake. Initially, I just made pendants but in the last few months, I have branched out to making earrings too!

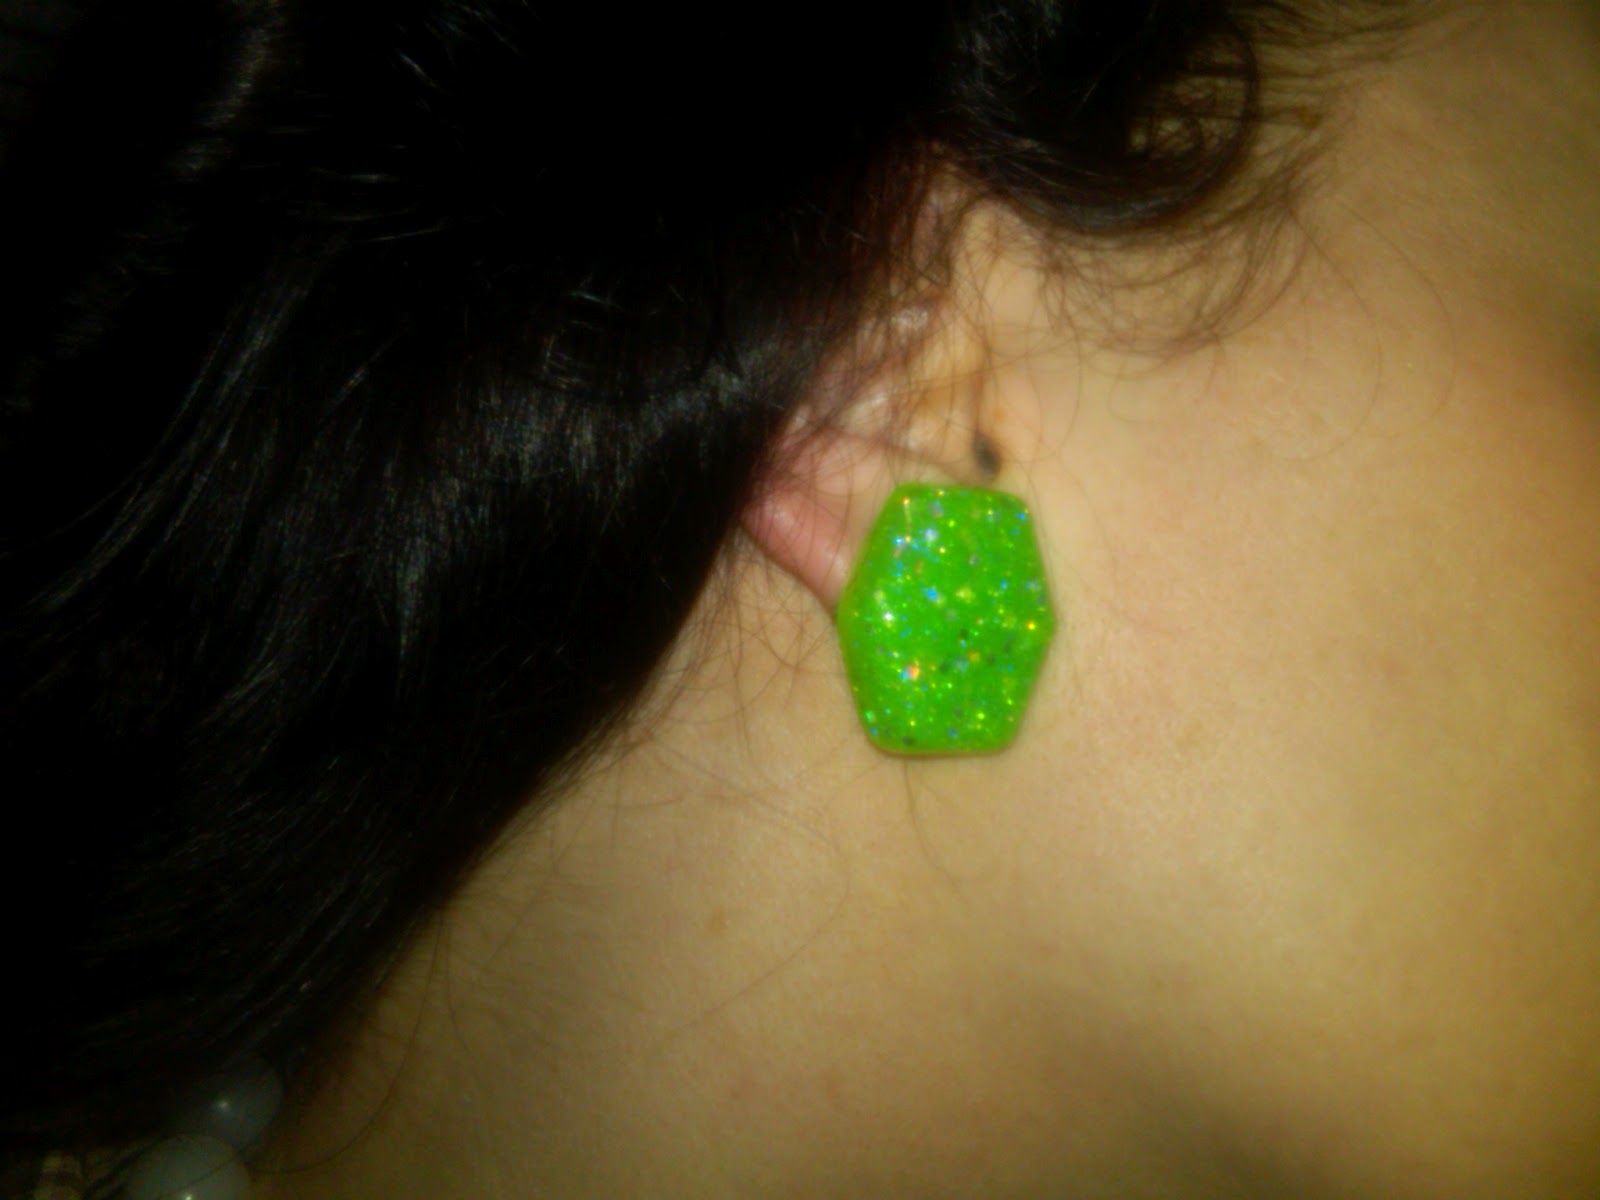
Here is one of the earrings I am wearing today! I made them with resin, green glitter, and mini square silver glitter!
After pouring and setting the mold, I allowed the mixture to set and when it was cured (two days), I popped the resin out of the mold, coated the surface with a clear, protective polymer, and attached the earring posts! Viola! They were done and ready to wear!

Sunday, April 29, 2012

Hair Flower Tutorial!

For the longest time, I have wanted to do a hair flower tutorial. And after much procrastination, here it is!

Here are the supplies you will need:
hair flower
metal (or jeweler's) pliers
glue gun
glue sticks
hair barrette or hair alligator clip
1/4 inch wide grosgrain ribbon
scissors
hot pad (pot holder)


To start, select your hair flower(s) from your local craft store. The flowers are usually made of silk, a silk blend, or a poly blend. Moreover, the flower itself is typically on a single or multi-tiered plastic-coated metal stem.  You can find these flowers (or picks) in the flower section.
Before you begin, plug in your glue gun and place it on a hot pad (or pot holder) to protect your work space from the heat. Pre-heat glue gun for at least 10 minutes.

Now, using your pliers, cut off the coated-metal stem(s) at the base of the flower:
Make sure the stem is removed cleanly to ensure a flat surface necessary for gluing on the barrette (or alligator clip).

 Now, cut two equal sections of ribbon slightly shorter than the actual length of clip/barrette.
Using the glue gun, apply a small line of glue to the ribbon and adhere ribbon to underneath of the top part of clip:
Allow glue to cool for 5 minutes.

On the top of the clip, glue on the second strip of ribbon:
 Allow glue to cool for another 5 minutes.

Now, here comes the fun part, ie attaching the flower itself! Add a pea-sized amount of glue to the middle of ribbon and attach flower:
Allow glue to cool/set for at least 10 minutes before handling. Turn off glue gun and let it cool down completely before storing away. When your clip is no longer warm (whatsoever) to the touch), it is ready to wear! Let the compliments roll in!!!


Monday, September 12, 2011

The Power of Spray Paint, An Eager Glue Gun, and Plastic Rhinestones!

Edited on Tuesday, September 13th: new photos.

While browsing the aisles in my local Target a couple of months ago, I found this black metal starburst mirror for $24.99 USD:
Not only was I was pleasantly surprised that Target would have an item like this in their stores, the price was great! I immediately put the mirror in my cart amongst my Dryel, Duncan Hines Brownie mix, and Purina cat food and I made my way to the register. As soon as I returned home, I armed myself with a hammer and a nail and mounted my new purchase proudly on my foyer wall.

This past weekend, I noticed a void on my west-facing den wall. I had an empty space between two atomic paintings I made this past winter and I realized either a sculpture or a starburst mirror and/or clock would fit perfectly. 

I thought about buying a mid-century starburst clock on Etsy but I decided against it due to the high shipping costs and on because most sellers want a pretty penny!

I then pondered the idea of buying another starburst mirror from Target but I did not want an exact duplicate. Then it 'hit me:' I could create a 'new' mirror with spray paint and some flat-back rhinestones.

I went to Target and bought the same mirror. Then went to my local Michaels Craft store and purchased a can of Krylon metallic gold spray paint for $7.49 USD and a set of assorted colored/shaped flat-back plastic rhinestones for $4.99 USD.

Later that evening, I laid down a few layers of newspaper on my back porch. Then, I covered the mirror surface with painter's tape. I sprayed a two coats (I allowed each coat to dry completely) of the gold paint on both sides of the mirror. Using my hot glue gun, I adhered blue square, round silver, and triangle silver gemstones to the mirror. I let the glue cool, removed the paint tape, and hung the mirror on the wall:


It is amazing what a little spray paint and glue can do! I like the way the mirror turned out! I can so see myself doing this again in another room. It is fun and so easy to do! The possibilities are endless!

Wednesday, August 25, 2010

Atomic Transfers Giveaway!

Calling all crafty, vintage girls! To thank all of you who follow and comment on my blog, I am doing my first giveaway! I present to you the "Atomic Transfers Giveaway!"

I have posted two projects using these sheets. Each sheet has about 16-17 different transfers. You can apply them on glass, ceramic, wood, plastic, tile, and mirrors.  With these transfers, decorating your vintage home is a snap! No need to visit the antique mall or browse Etsy! Now you can make atomic wares yourself!

The giveaway will include the two sheets pictured. There is a wooden applicator included and directions are on the back of each package.


To enter, just follow my blog (if you don't already) and leave a comment on this post. The giveaway will end Sunday, the 29th of August. I will draw the entries and announce the lucky winner on Monday, the 30th.

The winner will be asked to e-mail me so I can mail them their brand new transfers.

Good luck and have fun!

Tuesday, August 24, 2010

Atomic Trivet Using Rub-On Transfers

This is another project I did using the atomic rub-on transfers that I bought from Michael's Crafts. I recently did a post showing an atomic wood step stool I made using the transfers and blue spray paint.

The original tile on this trivet had a San Francisco street scene on it but it broke when my friend's toddler got a hold of it. I was left with an empty metal frame, but not to worry. I went to my local hardware store and bought a plain white ceramic square tile.

When I took the tile home, I swiped the surface clean using a cotton square soaked with rubbing alcohol. Then I applied the transfers and sealed the design my coating the entire surface with a clear varnish.

These transfers can be put on metal, tile, ceramic, glass, wood, and plastic. They cannot be put on items that will get wet or be washed. These transfers are best left for decorative pieces.

Thursday, August 19, 2010

Making Atomic-Era Inspired Wood Crafts!

This is one my latest craft projects! An atomic-era step stool for my kitchen! Being only 5'3, I often have trouble reaching the higher shelves in my cabinets so I decided to go to Michaels Craft Store to get supplies to make my own 50s creation! Not only is the finished product functional, it looks perfect in my atomic kitchen.

As I was browsing the wood craft section of the store, I found an unfinished wood stool. It is about 11-12 inches long and about 7-8 inches wide. It stands about 6 inches tall.

I went over to the paint section and got a can of indoor/outdoor Krylon Acrylic Spray Paint in the color "Blue Ocean Breeze." It retails for $5.99 USD. Then I went over to the decals, stickers, and transfers aisle and I picked up a sheet of atomic-looking rub-on transfers for $2.99 USD.

I bought my goods and I went home. I went outside to my back deck and I set down a huge layer of newspaper to protect my work space. I shook the can of aqua blue paint and I sprayed the stool in sections, allowing time to dry between each section/coat. When the stool was dry, I cut out one of the rub-on transfers and I placed the sticky side of the transfer onto the stool's surface. Using the small popsicle-like stick provided, I rubbed the transfer until it completely pulled away from the sheet. After the transfer was on, I gently pressed it down with my fingers to ensure all of the design adhered correctly and completely.

I took the stool back outside to the work area and I sprayed a coat of Krylon Crystal Clear Coat ($5.99 USD) to seal the paint and the transfer. The stool was left to completely cure/dry overnight and presto! My atomic stool was done!